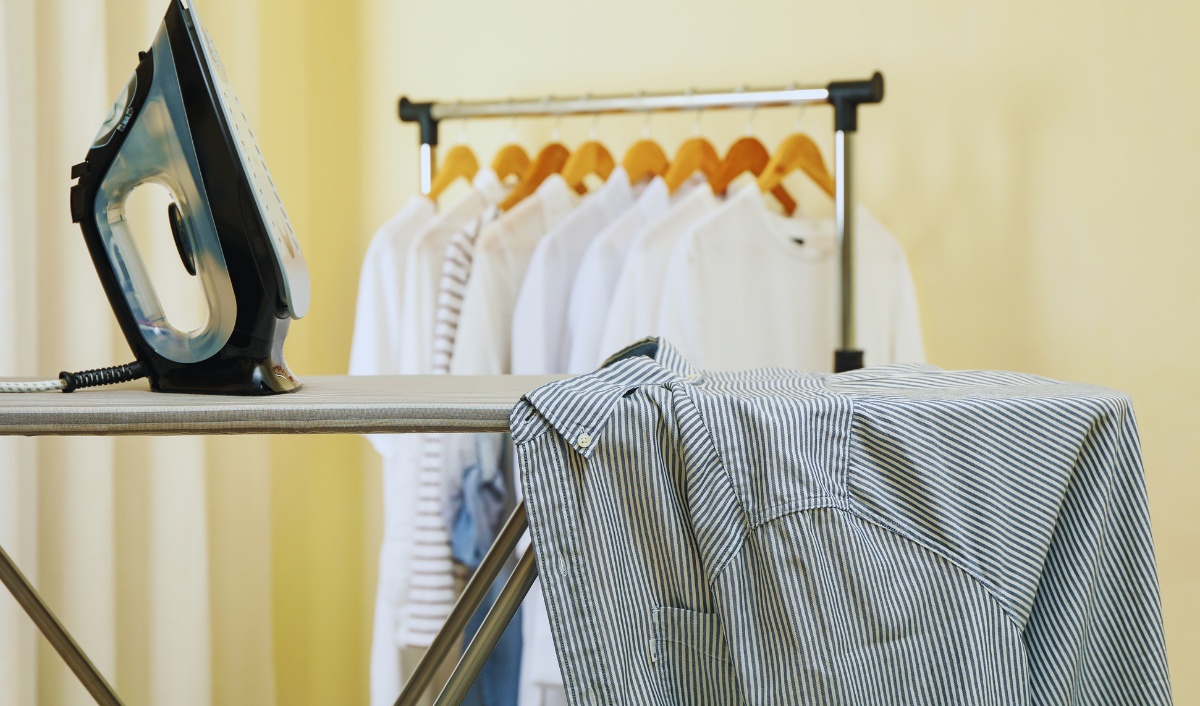
Ironing boards are one of those household items that tend to get overlooked until you need them. If you’ve never used one before and don’t know how to use an ironing board, they can seem a little confusing and intimidating.
But don’t worry – using an ironing board is actually pretty easy once you get the hang of it.
An ironing board is a useful tool for anyone who needs to make sure their clothes look perfect before wearing them out. If you’re new to ironing, this article will show you exactly how to use an ironing board effectively.
You might also like:
- 9 Best Ironing Board Covers for to Press with Confidence
- 6 Best Travel Irons: Tested in Time For Your Next Trip
- How To Remove Iron Marks From Clothes – 5 Simple Hacks!

Disclaimer: This post contains affiliate links. This means that if you purchase anything through a link, I may earn a small commission. As an Amazon Associate, I earn from qualifying sales. This is at no extra cost to you. You can read my full disclaimer here to find out more.
Types of ironing boards
There are three main types of ironing boards – a freestanding board, a tabletop board and a stow away board.
Freestanding ironing board
This is the most common type of ironing board found in homes. These boards have a lever underneath that allows you to adjust the height of the board as well as a stopper at the bottom which prevents it from shifting position. They are usually a full size ironing board, which makes it easier to iron larger items.
Tabletop ironing board
A compact tabletop board is perfect for small spaces and can be set up on any flat sturdy surface. These boards usually come with a small base, and they are lightweight and easy to move around. It is usually foldable and can be easily stored away when not in use – a great space saver!
Stow away ironing board
These are commonly found in small apartments, hotel rooms or laundry rooms. Stow away ironing boards are usually wall-mounted and can be folded up when not in use, taking up minimal space.
How to use an ironing board:

Set up your ironing board
Before you begin working on your clothes, it’s important to make sure that your ironing board is properly set up. Here’s how to do it:
- Unfold the board and place it on a flat surface
- Secure the legs in place and adjust the height of the board to suit your needs
- Keep the board close to the electrical outlet so that you can easily plug in your iron
- Check that there are no marks or stains on the ironing board cover that could transfer to your clothing
Prepare the clothes for ironing
Now that your ironing board is ready, it’s time to prepare the clothes for ironing. Here are some steps you should follow:
- Check the care labels on your items to make sure you know which heat setting to use
- Place clothing in different bundles, according to their heat settings so you can start with delicate fabrics which require low heat first, then medium heat and then clothing that requires a high heat setting
- Lay the clothing on the board, making sure to smooth them out so that they don’t bunch up when you start ironing
How to iron shirts
Dress shirts are always considered tricky to iron, but with a few tips and tricks you can get them looking perfect!
Start with the collar. Make sure that it is lying flat on the board before pressing down the iron. You can use some spray starch if needed for extra stiffness.
Next, move onto the sleeves. Start at the shoulder and work your way down to the cuff, pressing down firmly with the iron.
Finally, move onto the body of the shirt. Place the collar of the shirt over the pointed end of the ironing board and work your way from one side, to the back to the other side, moving it in sections over the ironing board.
How to iron pants
Lay the pair of pants flat on the iron board. Start with the waistband of the pants, pressing down firmly with the iron.
Next, move onto the legs. Start at the top and work your way down to the hem. Turn over to the other side before repeating on the other leg. If you like the crease in the middle, make sure to press down on the main crease on each leg.
How to iron skirts
Start by shaking out the skirt to loosen any wrinkles and get the pleats set in place. Skirts with pleats can be especially tricky to iron.
If your skirt is lined, start by ironing the lining. Once the lining is smooth, move on to the outer fabric of the skirt.
Place the skirt over the pointed end of the ironing board, with the top of the skirt on the board and the bottom underneath. Begin ironing from the top to the bottom in very small sections, ensuring to iron the pleats as you go.
Keep moving the skirt around little by little until you get back to the beginning and the entire skirt is ironed.
How to use an ironing board FAQs
What is the end of an ironing board for?
The end of the ironing board is an iron rest and is used to hold the hot iron.
Why do ironing boards have a pointed end?
The pointed end of the ironing board is designed to help you press collars and cuffs easily. It also ensures that the fabric stays taut when you are ironing clothes, so you get better results.
Do you have to iron on an ironing board?
Although it isn’t essential, using an ironing board helps you avoid making any mistakes when pressing clothes and makes the process faster. If you don’t have an ironing board, you can use a makeshift ironing board by using a bedsheet or towel on any flat surface to get you by.